
This is the quick run-through to do before you press Start live — once you tick all of this off, going live is a single button press. Aim for the first three sections (account, profile, gear); the rest is polish.
For what each show type means and how money flows, see Public, ticketed and 1:1 private shows.
1. Account state — these have to be green
Two things must be in place before the Start live button is even clickable:
- Identity verification approved. If the studio page is showing a banner that says going live is locked until your verification is approved, your ID check hasn’t cleared yet. Go to My profile and finish or retry the verification flow first. Once approved, the banner disappears and Start live unlocks.
- You’re signed in as a creator at /models-login/ (not the customer login at
/my-account/).
You don’t need a Partner-ID to go live — that only matters for getting paid out. You can stream and earn from day one; payouts unlock when your Partner-ID is set up. See Setting up your Partner-ID for that.
2. Fill out your profile — once, before your first stream
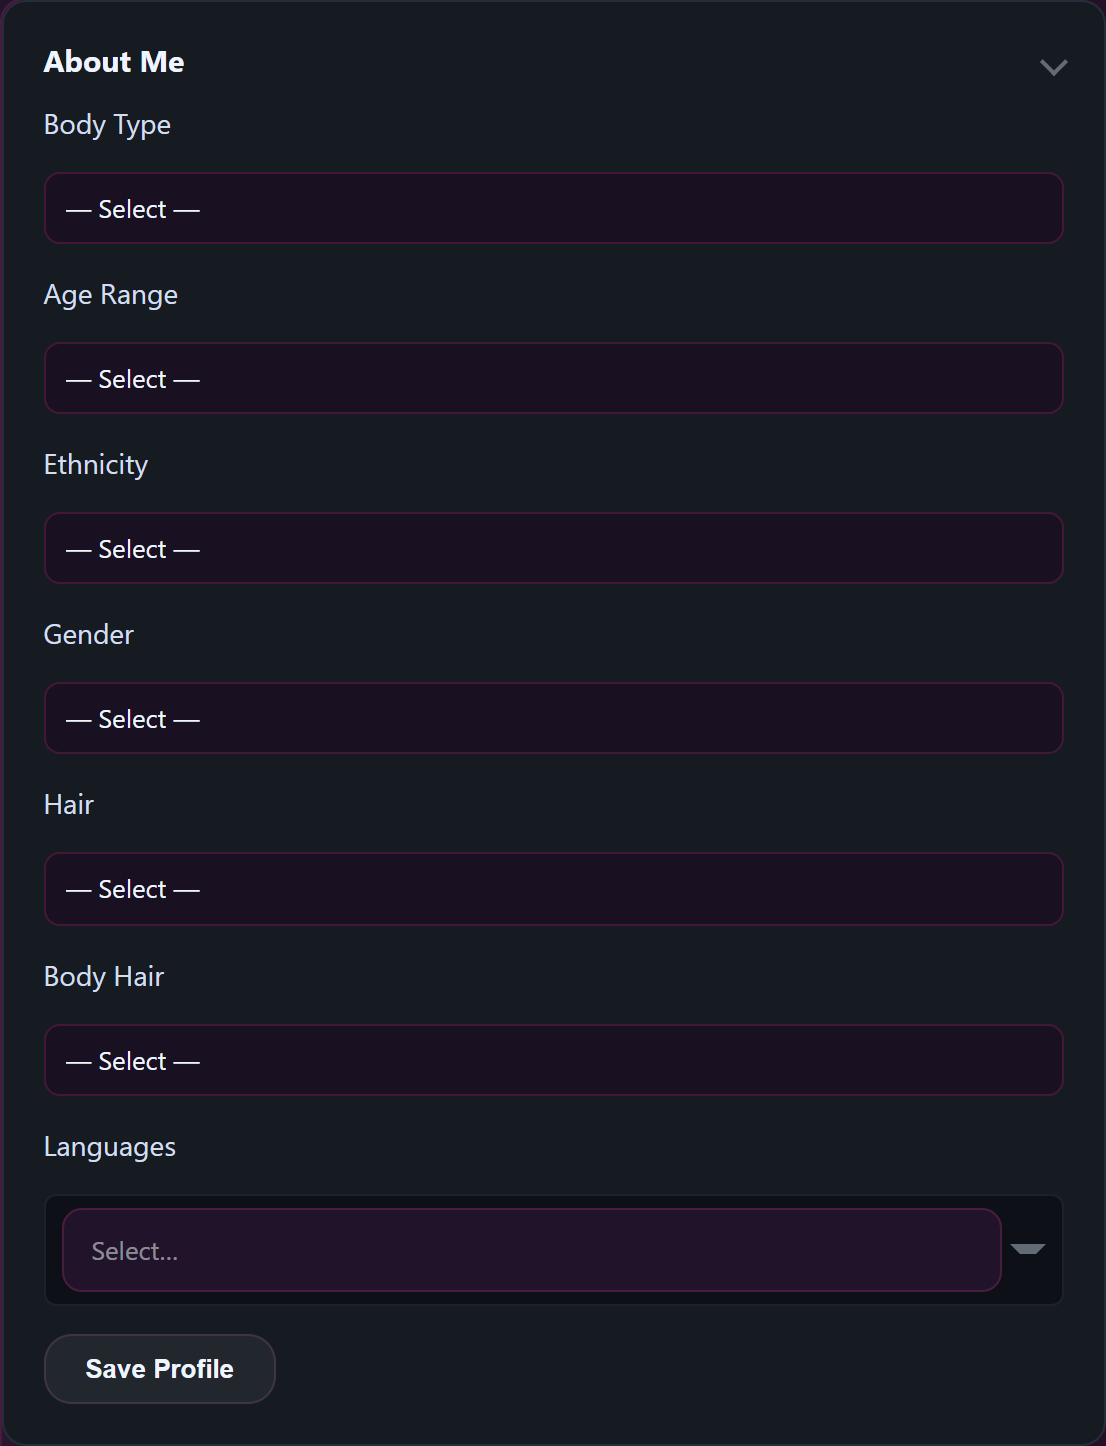
This is the single biggest thing you can do for discoverability before you ever go live. Open /store-manager/my-profile/ and walk through the sections — every field you fill in becomes a way for fans to find you.
What’s on the page:
- Identity — display name and bio. Your bio is the first thing fans read on your profile and the live-room overlay; one strong sentence beats three vague ones.
- Where you’re from — country and languages (multi-select). Fans filter by language on the browse page, so picking the languages you actually stream in matters.
- About you — age bucket, body type, ethnicity. These power the body-type and age-range filters on /all-categories/.
- Artist attributes — fifteen sub-pickers (height, body shape, hair colour & length, eye colour, abs, endowment, girth, circumcised, pubic hair, piercings, tattoos, glasses, foot size, subculture). Fans browsing for a specific look use these heavily — every one you fill in is another search bucket your profile lives in.
- What you stream — VR and Cam2Cam toggles. Flip these on if you offer either; they show up as their own tabs on the browse page.
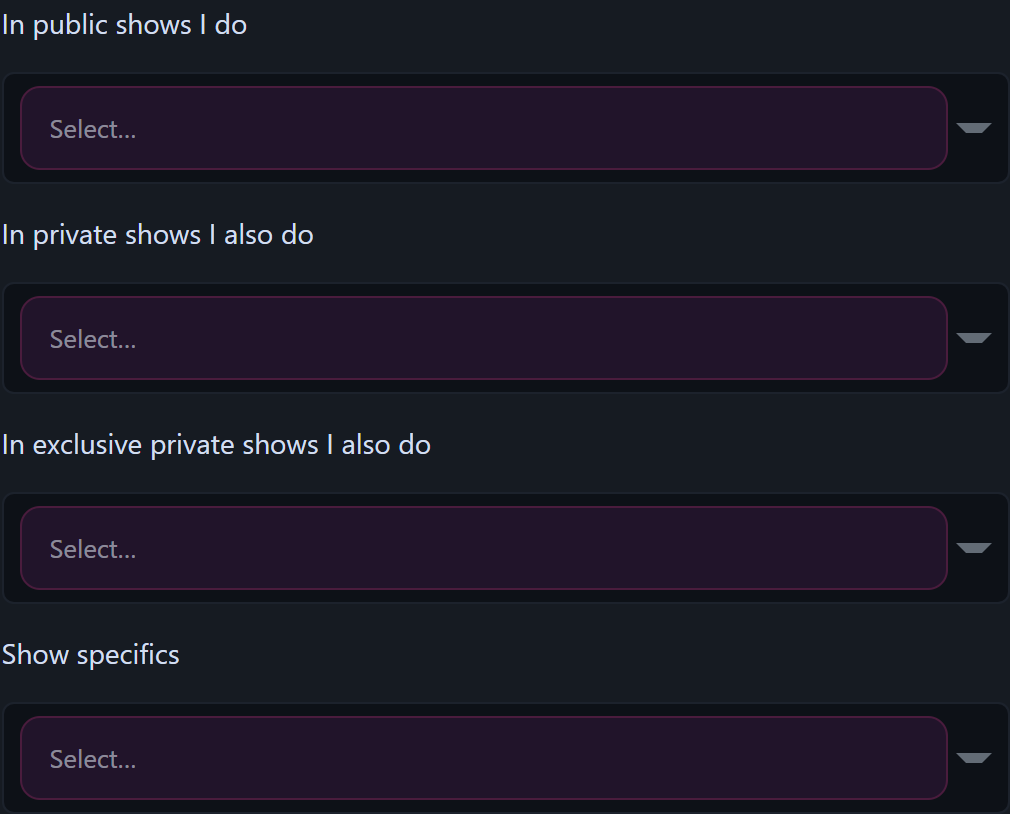
- Public activities — a chip picker of show types you’re up for (smoking, role-play, JOI, etc.). Pick honestly; viewers find you through the activity chips on the browse page.
- Stream preview card — upload a still image that represents your typical show. Without a custom card, Lewdden auto-snapshots your live feed after a few minutes — usually fine, but a chosen card converts more browse-page viewers.
It takes only a few minutes to fill out, and the more boxes you tick, the more search and browse paths land on your profile. Easily the highest-leverage few minutes you’ll spend before going live.
3. Gear
The minimum kit:
- Camera — your laptop’s built-in webcam works. An external 1080p webcam is noticeably sharper. Phone cameras are fine — you can stream straight from your phone’s browser.
- Microphone — built-in mic works in a quiet room, but a USB mic gives a much bigger lift in audio quality than spending more on the camera.
- Light — one soft light pointed at your face beats any expensive camera in a dim room. A €30 ring light is enough.
- Lovense toy (only if you plan to stream with one) — pair it once before your first stream and install the Lovense Cam Extension in your browser. See Pairing your Lovense toy for the one-time setup walkthrough.
Before the show, close any other app that uses your camera or mic — Zoom, FaceTime, OBS, Skype, even another browser tab. If the studio shows “Another app or tab may still be using it,” that’s why.

4. Browser & permissions
- Use Chrome, Edge, Firefox, or Safari. All current versions support what we need. Brave works too; obscure browsers may not.
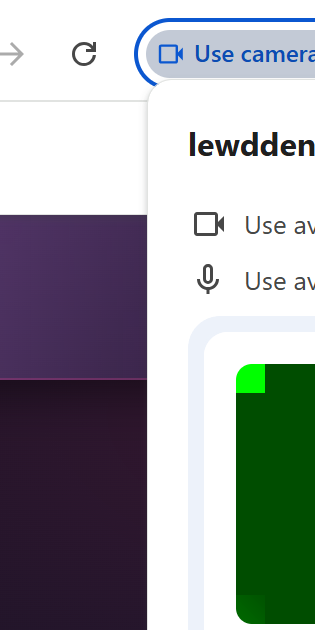
- Allow the site to use your camera and microphone when the browser prompts. If you accidentally clicked “Block,” click the camera icon in the address bar and re-allow them, then refresh.
- Make sure the URL starts with https. You should see a padlock icon in the address bar. Browsers won’t grant camera or microphone access on plain http pages, so always navigate via the menu or a bookmarked link, not by pasting an unsecured link from elsewhere.
- Streaming from your phone? Use the phone’s regular browser (Chrome on Android, Safari on iPhone). The browser will ask for camera/mic permission once; allow both.
5. Network
You need a stable upload connection, not just a fast download. Speed-test your upload specifically.
| Picture quality | Streaming bitrate | Upload bandwidth you should have |
|---|---|---|
| Auto on phone | 2.5 Mbps | 4 Mbps + |
| Auto on laptop / 4 Mbps | 4 Mbps | 6 Mbps + |
| 6 Mbps | 6 Mbps | 9 Mbps + |
| 8 Mbps | 8 Mbps | 12 Mbps + |
A few practical notes:
- Wired Ethernet beats Wi-Fi. If you can plug in, do.
- Wi-Fi 5 GHz (or Wi-Fi 6) beats 2.4 GHz. Move closer to the router or switch bands if the picture pixelates.
- Don’t share the connection during the show — pause big downloads, cloud syncs, and other devices’ video calls.
- Mobile data works for short streams in a pinch, but it’s flaky and can rack up bills. Wi-Fi or wired is the default.
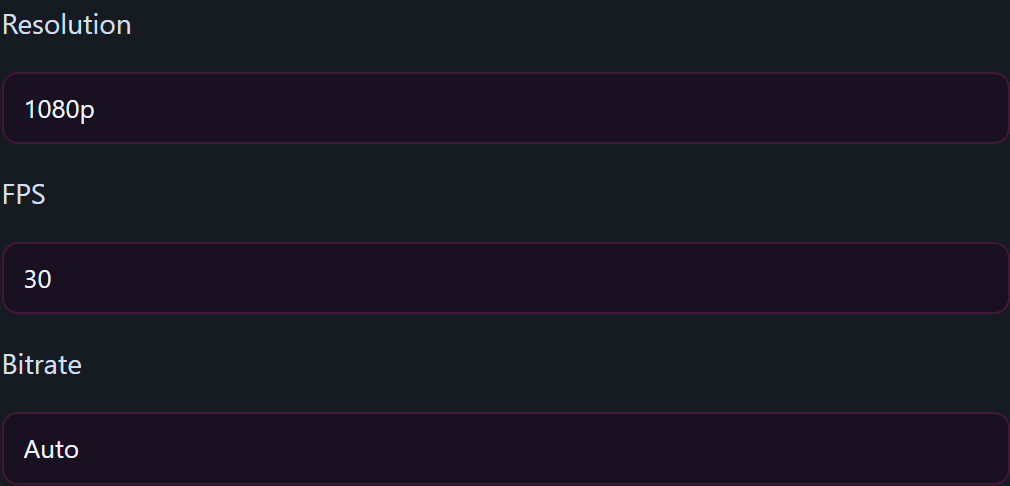
You can change resolution / FPS / bitrate any time before the show in the studio’s Settings tab — see Section 8.
6. Set up the room
Open /store-manager/livestream/ and fill these in before clicking Start live — they appear on your live room the moment you go live:
- Room title — what’s tonight’s show about? Short and specific beats clever. “Friday night smoking edition” reads better than “live again ❤️”.
- Tags — pick from the tag picker. Tags are how viewers find you on
/live/. Don’t keyword-stuff — pick the 3–6 that actually fit. - Public room mode — Free or Premium per-minute. This toggle lives in Settings → Pricing on the studio page. Pick what you want before clicking Start live — Free vs Premium is locked while you’re streaming, so flipping later means ending and restarting. Ticketed shows and Private shows are different — you start those mid-stream from the studio buttons (no need to pre-pick).
- Tip menu — set up two or three priced reactions (e.g. 50 tokens — wave) that viewers can trigger from the chat. The studio has a tip-menu editor under Settings.
- Tip goal — optional one-line target shown on your room (“Goal: 1000 tokens for [thing]”). Most creators run a goal.
- Stream preview card — covered in Section 2 (My Profile). If you skipped it there, set it now — a chosen card converts better than the auto-snapshot.
For full guides on each: see Setting up your tip menu and Customising your store.
7. Test your camera and audio
In the studio, hit Enable preview on the local preview window. You’ll see what your viewers will see — minus the audio (your own audio is muted in preview to stop feedback).
Check:
- Framing. Are you centred? Is your face well-lit and in focus? Is anything embarrassing in shot?
- Headroom. Eyes about a third of the way down the frame, not stuck to the top.
- Background. Is the door closed? Is anything visible that you don’t want public (whiteboards, mail, screens with logged-in apps)?
- Audio. Talk for 10 seconds. Then hop into your own room from a second device or another browser tab as a viewer to check the sound is clean and the levels are right.
When the preview looks right, click Stop preview — it doesn’t matter either way, the studio also turns the preview off when you go live and uses the live-camera feed instead.

8. Optional but worth it
- Lovense pairing — if you use a Lovense toy, pair it once on the Pair your Lovense toy flow. Once paired, viewer tips automatically trigger reactions you’ve set up in the tip menu. See Pairing your Lovense toy for the one-time setup.
- Cam2cam — you can offer cam2cam during 1:1 private shows. It’s opt-in; the toggle lives in the studio actions row once you’re live.
- Invite a co-creator — if you want to do a collab, click Invite co-creator and pick a friend. Default revenue split is 50/50; the slider adjusts in 5% steps. See Multi-creator collabs.
- Stream schedule — at the very top of the studio there’s a “Stream schedule” card. Schedule upcoming shows; viewers see them on the Upcoming tab. Predictable schedules mean returning viewers.
9. Last 60 seconds
Right before you press Start live:
- Close other camera/mic apps (Zoom, FaceTime, OBS, etc.).
- Close other browser tabs that are streaming or in a video call.
- Quick mirror check — light, framing, anything in shot you don’t want public.
- Glass of water in reach. Your voice will thank you.
- Phone on Do Not Disturb if you’re streaming from desktop and your phone’s near the mic.
- Lovense toy connected (if you use one) — open the Lovense Cam Extension and confirm your toy shows in the connected toys list. If it’s offline, re-pair before going live.
Then hit Start live. The status pill flips from grey Offline to green Live, the viewer counter wakes up, and your room appears on /live/.

Common pre-show problems
Q: “Camera or microphone access was denied” — what now?
Click the camera icon at the left of your browser’s address bar, set Camera and Microphone to Allow for lewdden.com, then refresh the studio page.
Q: “No working camera or microphone was found” — but I have one plugged in.
Quit any other app that might own the device (Zoom is the usual culprit), then refresh. If you have multiple cameras, pick the right one in the Camera dropdown at the top of the studio.
Q: “Another app or tab may still be using it”
Same as above — something else has the camera open. Close Zoom / FaceTime / OBS / other browser tabs and try again.
Q: My picture looks blurry or pixelated.
Drop the bitrate one notch (Settings → Stream bitrate → next-lower option) — your upload connection isn’t keeping up. If you’re on Wi-Fi, move closer to the router or switch to 5 GHz / Wi-Fi 6.
Q: Audio echo / feedback during the test.
You’re hearing yourself through your own speakers from your second-device viewer test. Either watch the test on muted speakers, or use headphones for the test pass.
Q: I went live, then realised something is off — can I stop and restart?
Yes. Click Stop live, fix the issue, click Start live again. Each time you start a fresh broadcast it begins a new session with a new VOD.
Q: I lost connection mid-stream — am I still live?
The studio shows Reconnect live room if it can pick up where you left off. If you’re back within a minute, just click that. Beyond a minute or so, stop and start a fresh session.
Q: Can I really stream from my phone?
Yes. Open /store-manager/livestream/ in your phone’s regular browser, allow camera and mic when prompted, and press Start live. Auto picture quality drops to 720p on phones, which is a sensible default. Plug the phone into power — streaming drains the battery hard.
Going deeper into streaming
For specific streaming features, these companion guides cover everything in detail:
- Cam2cam in 1:1 private shows — when it’s available, how to set the default before you go live, and what each side sees during an Exclusive Private.
- Multi-creator collabs and revenue splits — inviting a co-creator into your room, the host/guest split slider (10/90 to 90/10 in 5% steps), and how the split applies to tips, tickets, privates, and post-show VOD revenue.
- Subscriber-only streams — locking your live room to people who are subscribed to one of your subscription plans, what subscribers vs non-subscribers see, and how it stacks with ticketed and private shows.
- Scheduling your upcoming streams — adding upcoming sessions to your stream schedule so subscribers see them on your storefront and get a reminder 30 minutes before you go live.
Need more help?
If something’s broken on the studio page itself (button greyed out for no reason, preview stuck, can’t save settings), open a support ticket from your account and tell us what browser and device you’re on.