
Welcome to Lewdden. Becoming a creator is straightforward. This guide walks you through every screen — register, confirm your email, the identity check, set up your profile, and add a payout method — so you know exactly what to expect.
What you get as a creator
Once you’re verified, you can:
- Sell clips and physical merchandise (signed photos, prints, used items, custom merch) from your own store page.
- Go live with public, paid-ticket or one-on-one private shows. Every show is recorded automatically and saved for you.
- Post updates to your feed — free for everyone, or subscriber-only — and let fans tip on any post.
- Chat one-to-one in the chat, send paid messages with priced clips, photos or voice notes, and broadcast announcements to your whole fan list.
- Offer subscriptions, take tips, and accept custom-order requests.
- Get paid 50% of what your fan actually pays — up to 70%* with referrals, by SEPA bank transfer, with no fees from us.
Good to know: you keep complete control over your prices, what you show, who can see it, and which countries you sell to. You can pause or close your store at any time.
Step 1 — Register your creator account
The creator sign-in is on its own page, separate from the customer login. Go to lewdden.com/models-login/.
The page has two sides. On the left, models who already have an account sign in straight to Store Manager. On the right is the new-creator panel — that’s where you start. Fill in:
- An email address you actually read (this is where the verification code lands).
- A username (this becomes part of your store URL — pick it carefully).
- A strong password.
- A few basic shop details so we can pre-create your store.
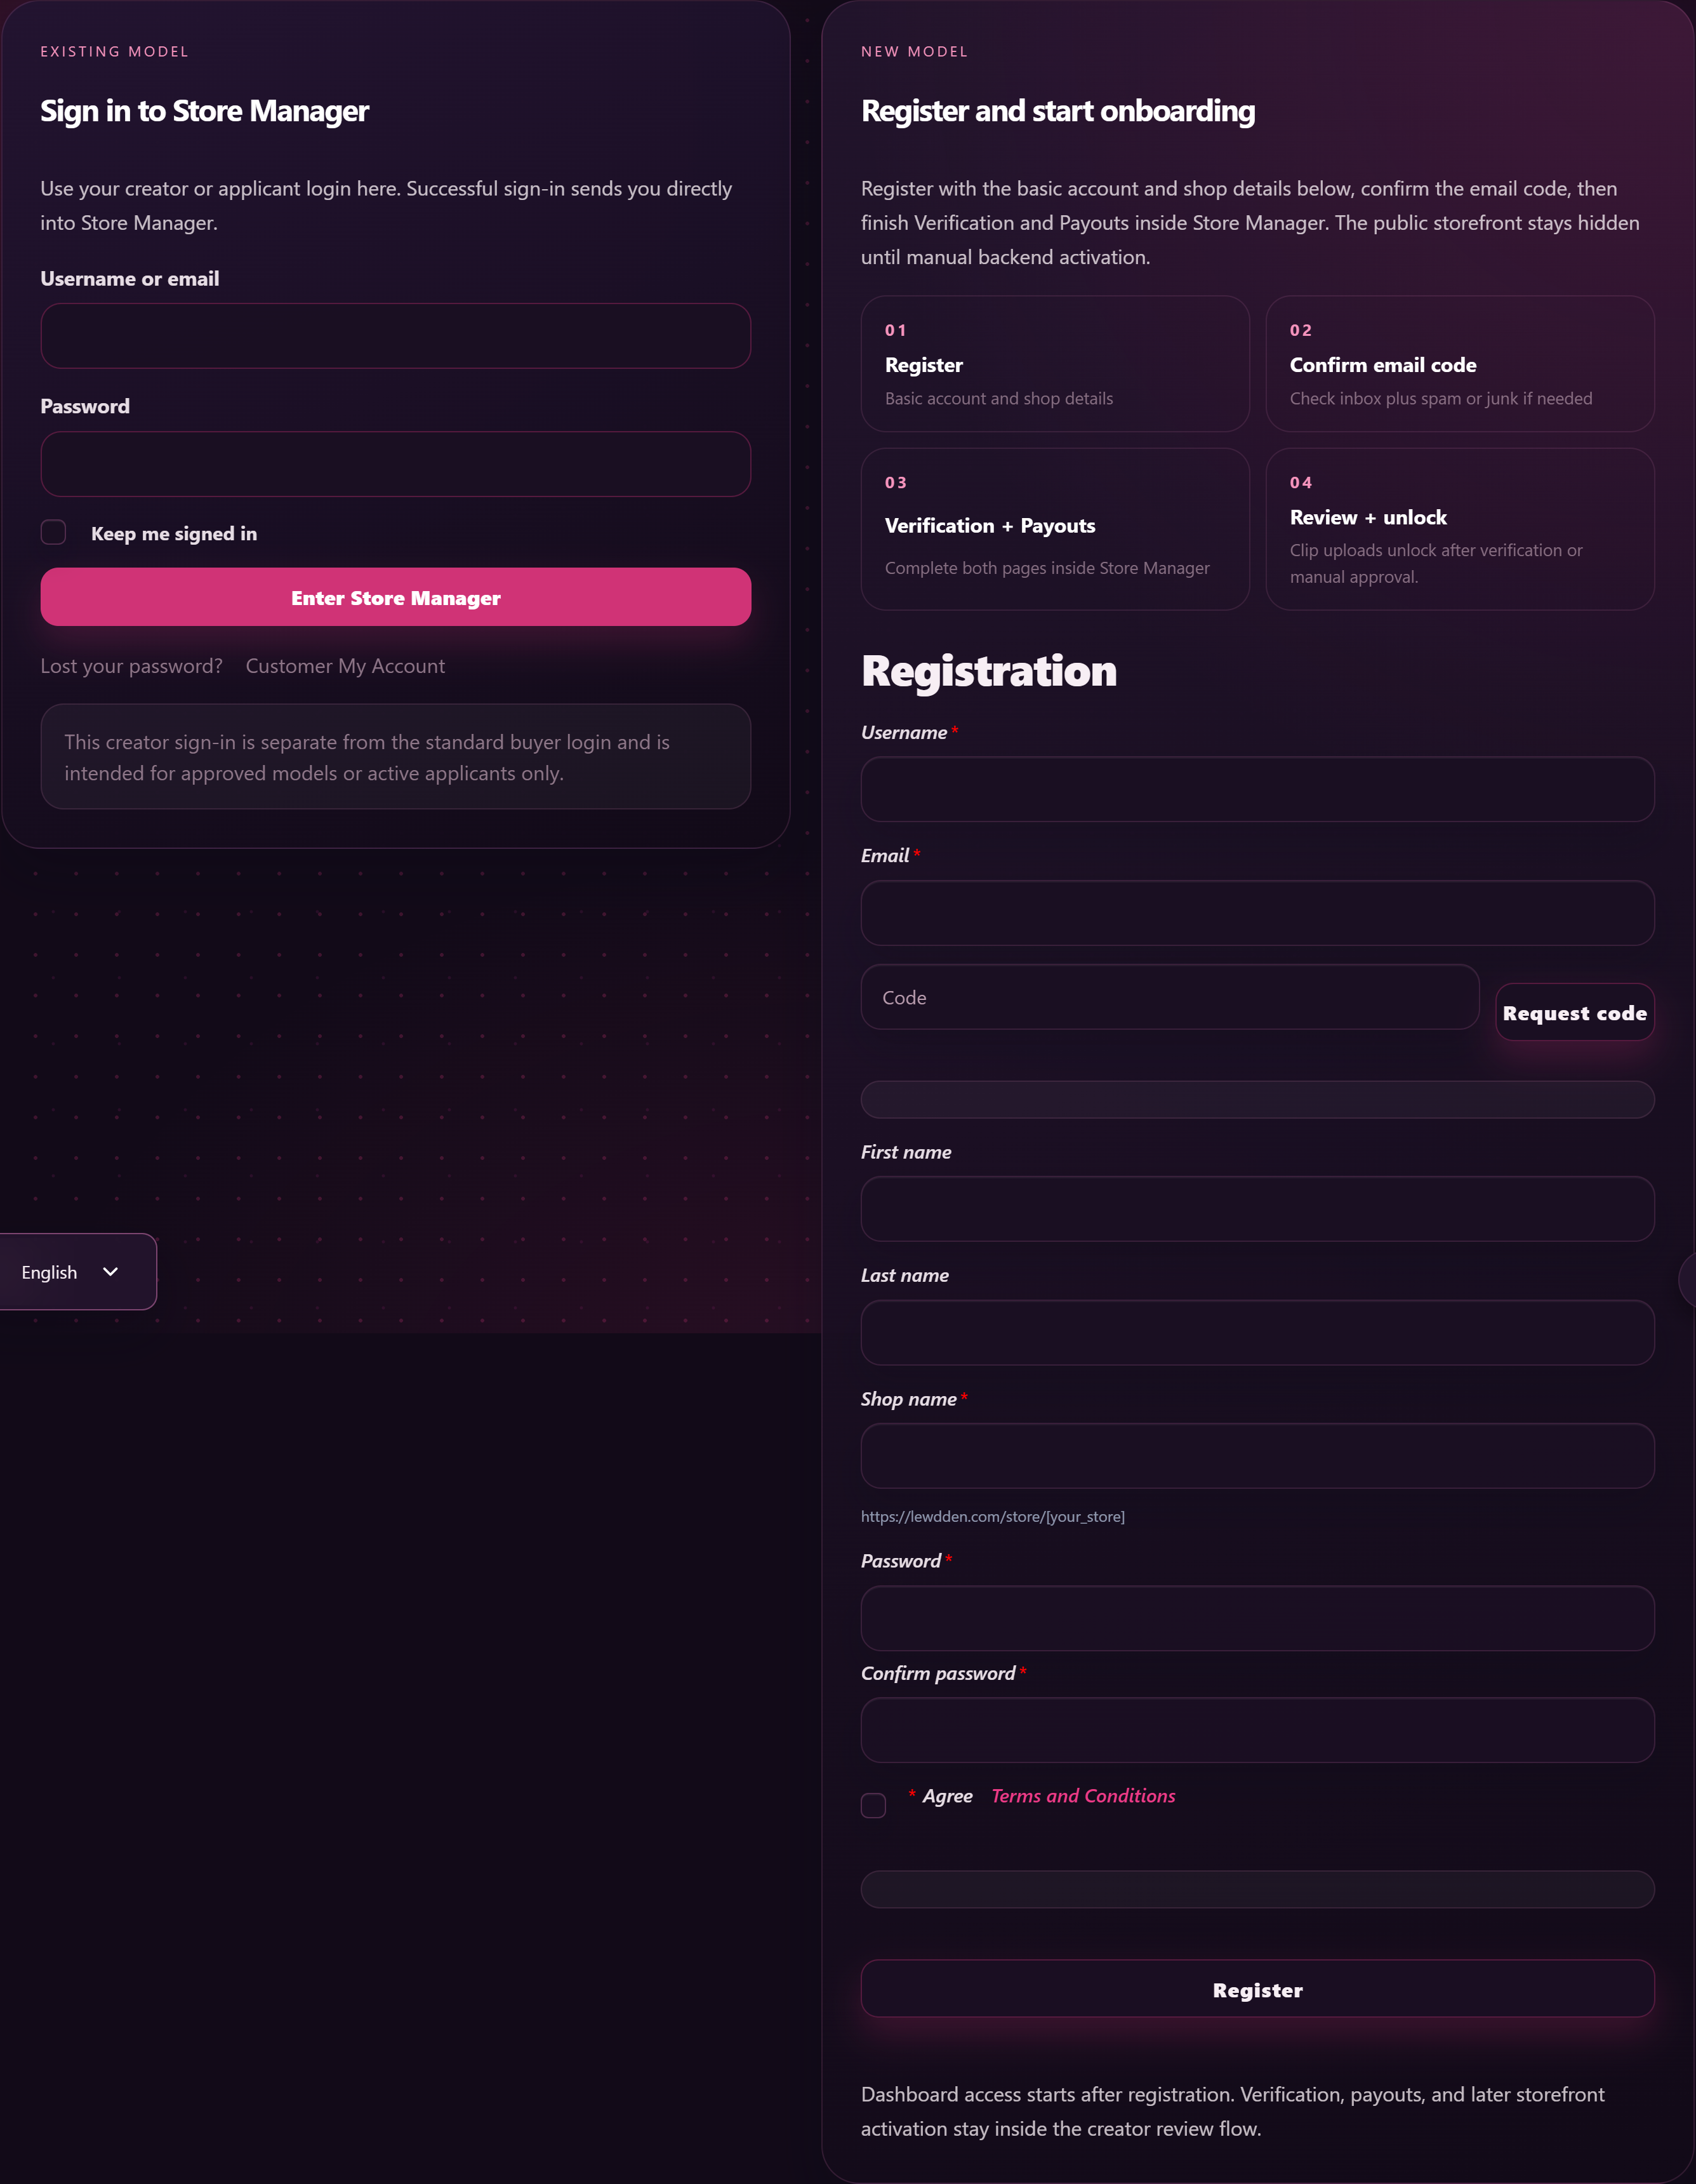
/models-login/ page — sign in on the left, register on the right.Tick the box to confirm you’re 18 or older and agree to the creator terms, then submit. You’ll be signed in straight away.
Step 2 — Confirm your email with the code
Right after you register, we send you a short 6-digit code by email. Open the email, copy the code, and type it into the confirmation field on screen. That finishes the registration step.
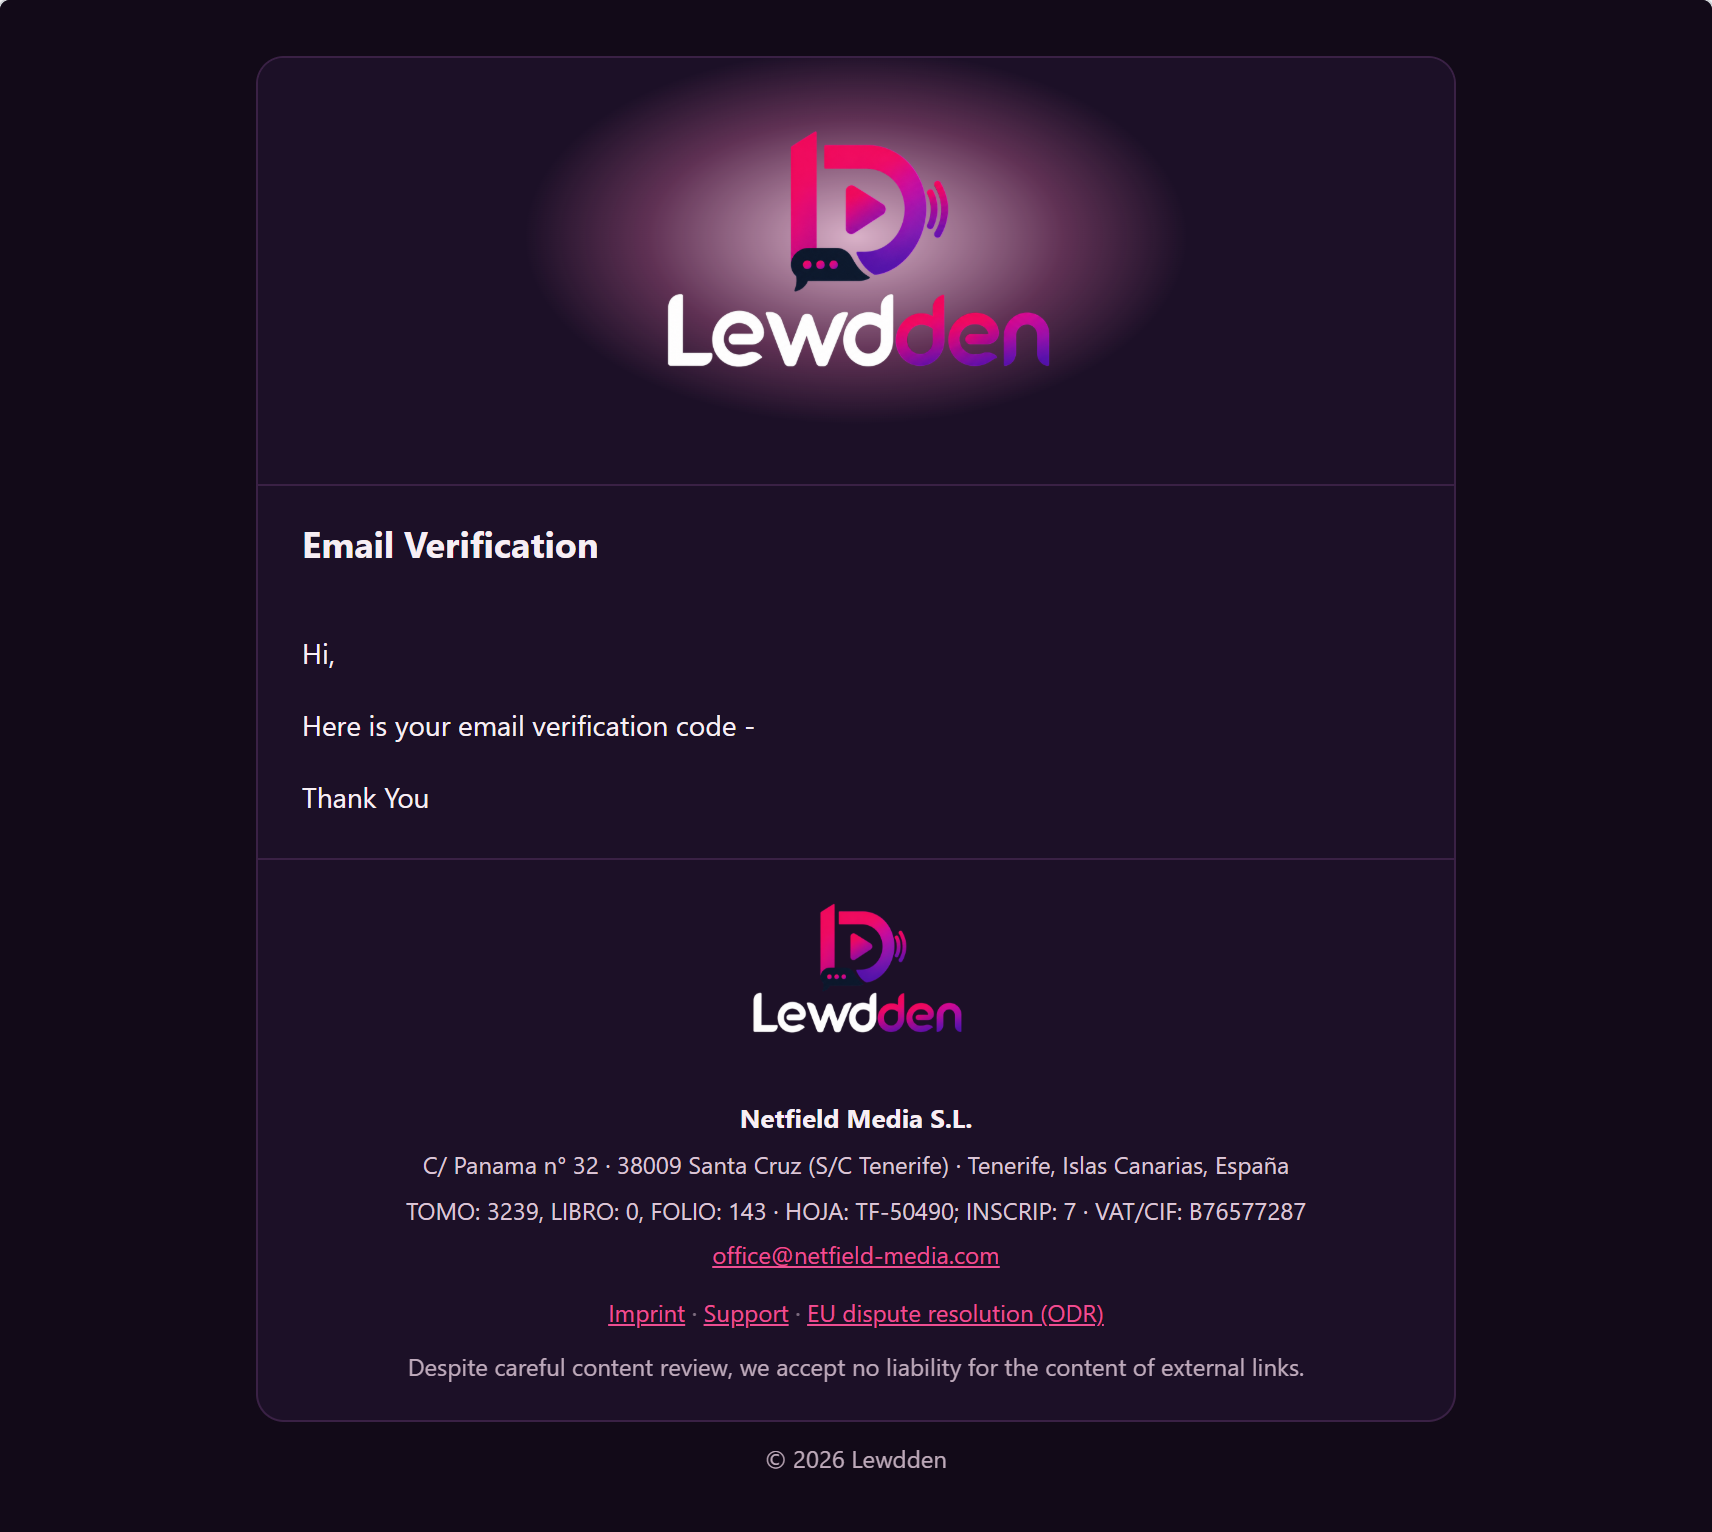
Don’t see the email? Check your spam or junk folder first. If it’s there, mark it as “not spam” so future messages from us — payout notices, support replies, ticket alerts — land in your inbox.
Step 3 — Verify your identity
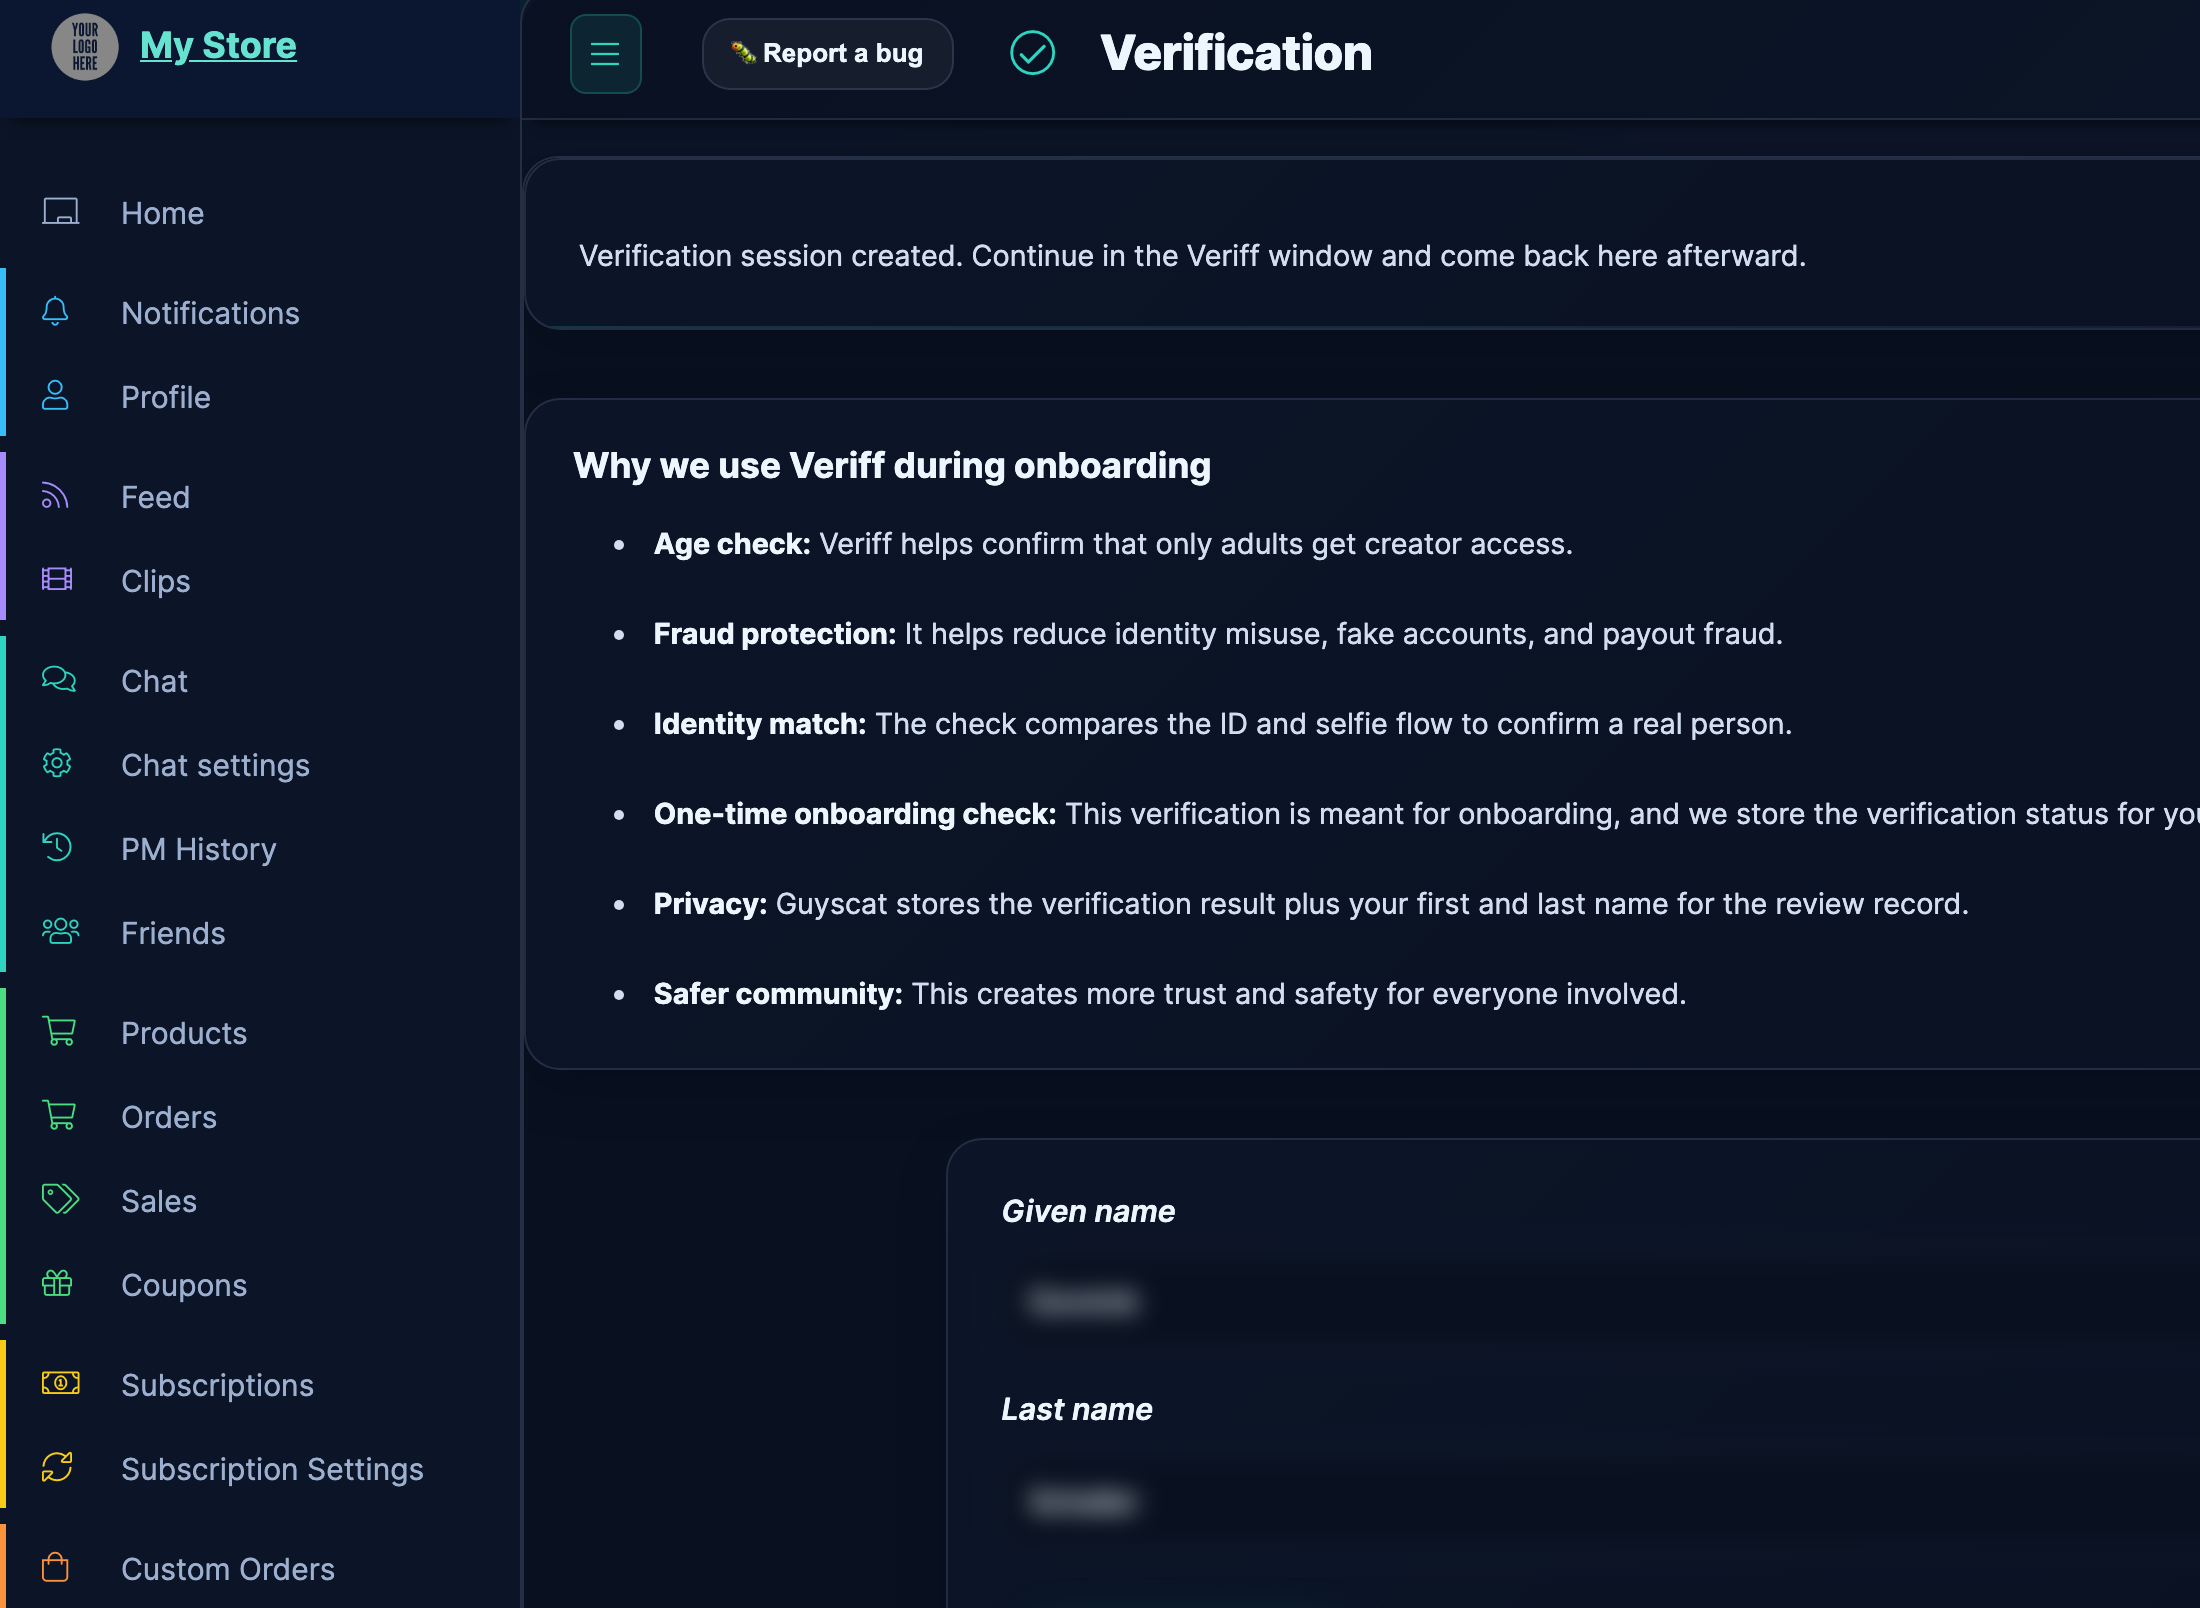
Before you can sell anything, take a payout, or go live, we need to confirm two things: that you’re a real person, and that you’re 18 or older. We use an independent identity-verification partner — the same one used by banks and exchanges — so the checks are quick and your documents stay private.
In Store Manager, open Verification and click Start verification.
What to have ready
- A government-issued photo ID — passport, driver’s licence or national ID card. Whichever is easiest to get hold of.
- Your phone, if you started on a laptop. The check usually switches you to mobile for the photo step because phone cameras are sharper.
- Decent light. A window during the day, or a lamp pointed at your face — not at the camera.
What happens, screen by screen
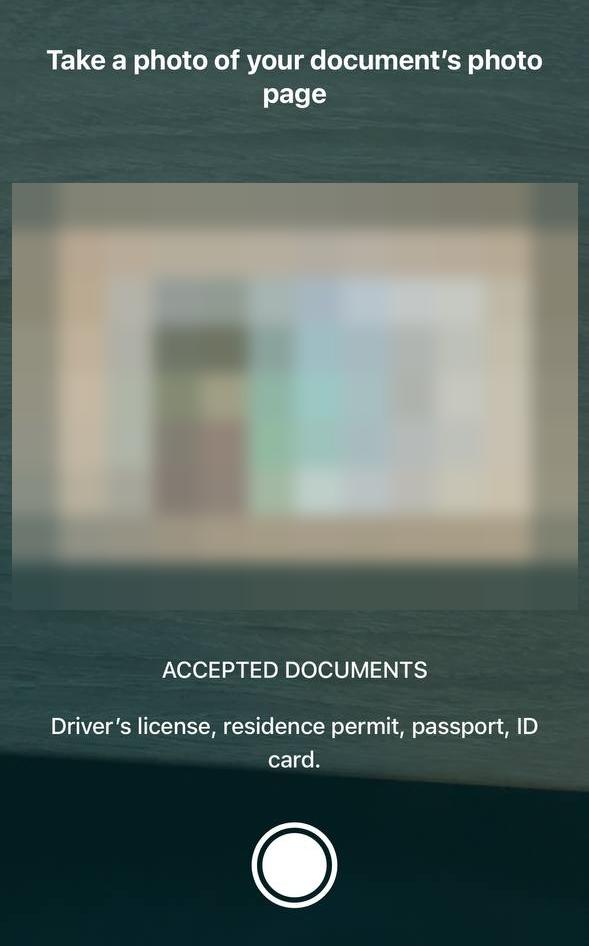
- Pick your country and document type. More than 200 countries and most common ID formats are supported.
- Take a photo of the front of your document. Place it flat on a dark surface and hold the phone steady. The camera auto-captures when the photo’s sharp enough.
- Take a photo of the back (only for ID cards and driver’s licences — passports skip this).
- Take a short selfie video. You’ll be asked to look at the camera, then turn your head left and right. This is to make sure it’s a live human, not a photo of a photo.
- Confirm and submit. The check runs in the background.
How long does it take?
The whole thing is usually done in under five minutes, often in two or three. Decisions normally come back almost immediately; we email you the moment a result is in — you don’t need to keep the verification page open.
The moment your identity is verified, your store unlocks. You can start adding products, scheduling streams and accepting orders right away — there’s no extra approval to wait for.
If something goes wrong: the check sometimes asks you to retry — usually because the photo was blurry or the ID was partially out of frame. That doesn’t count against you. You can retry as often as you need.
Step 4 — Fill in your creator profile
Open Store Manager → My Profile at /store-manager/my-profile/. This is where the important profile fields live (avatar and banner sit on a separate Shop page — they’re optional finishing touches you can do later).
The page is one long form with a sticky Save changes bar at the bottom. The sections are:
- Identity — display name and a short bio.
- Where you’re from — country and the languages you speak. Fans who share a language can find you faster.
- About you — age bucket, body type, ethnicity. These power filtering on the discovery pages.
- Artist attributes — fourteen quick pickers (interests, kinks, gear). Tick whatever applies; you can change them any time.
- What you stream — toggles for VR and cam-2-cam if you offer them.

Step 5 — Set up payouts
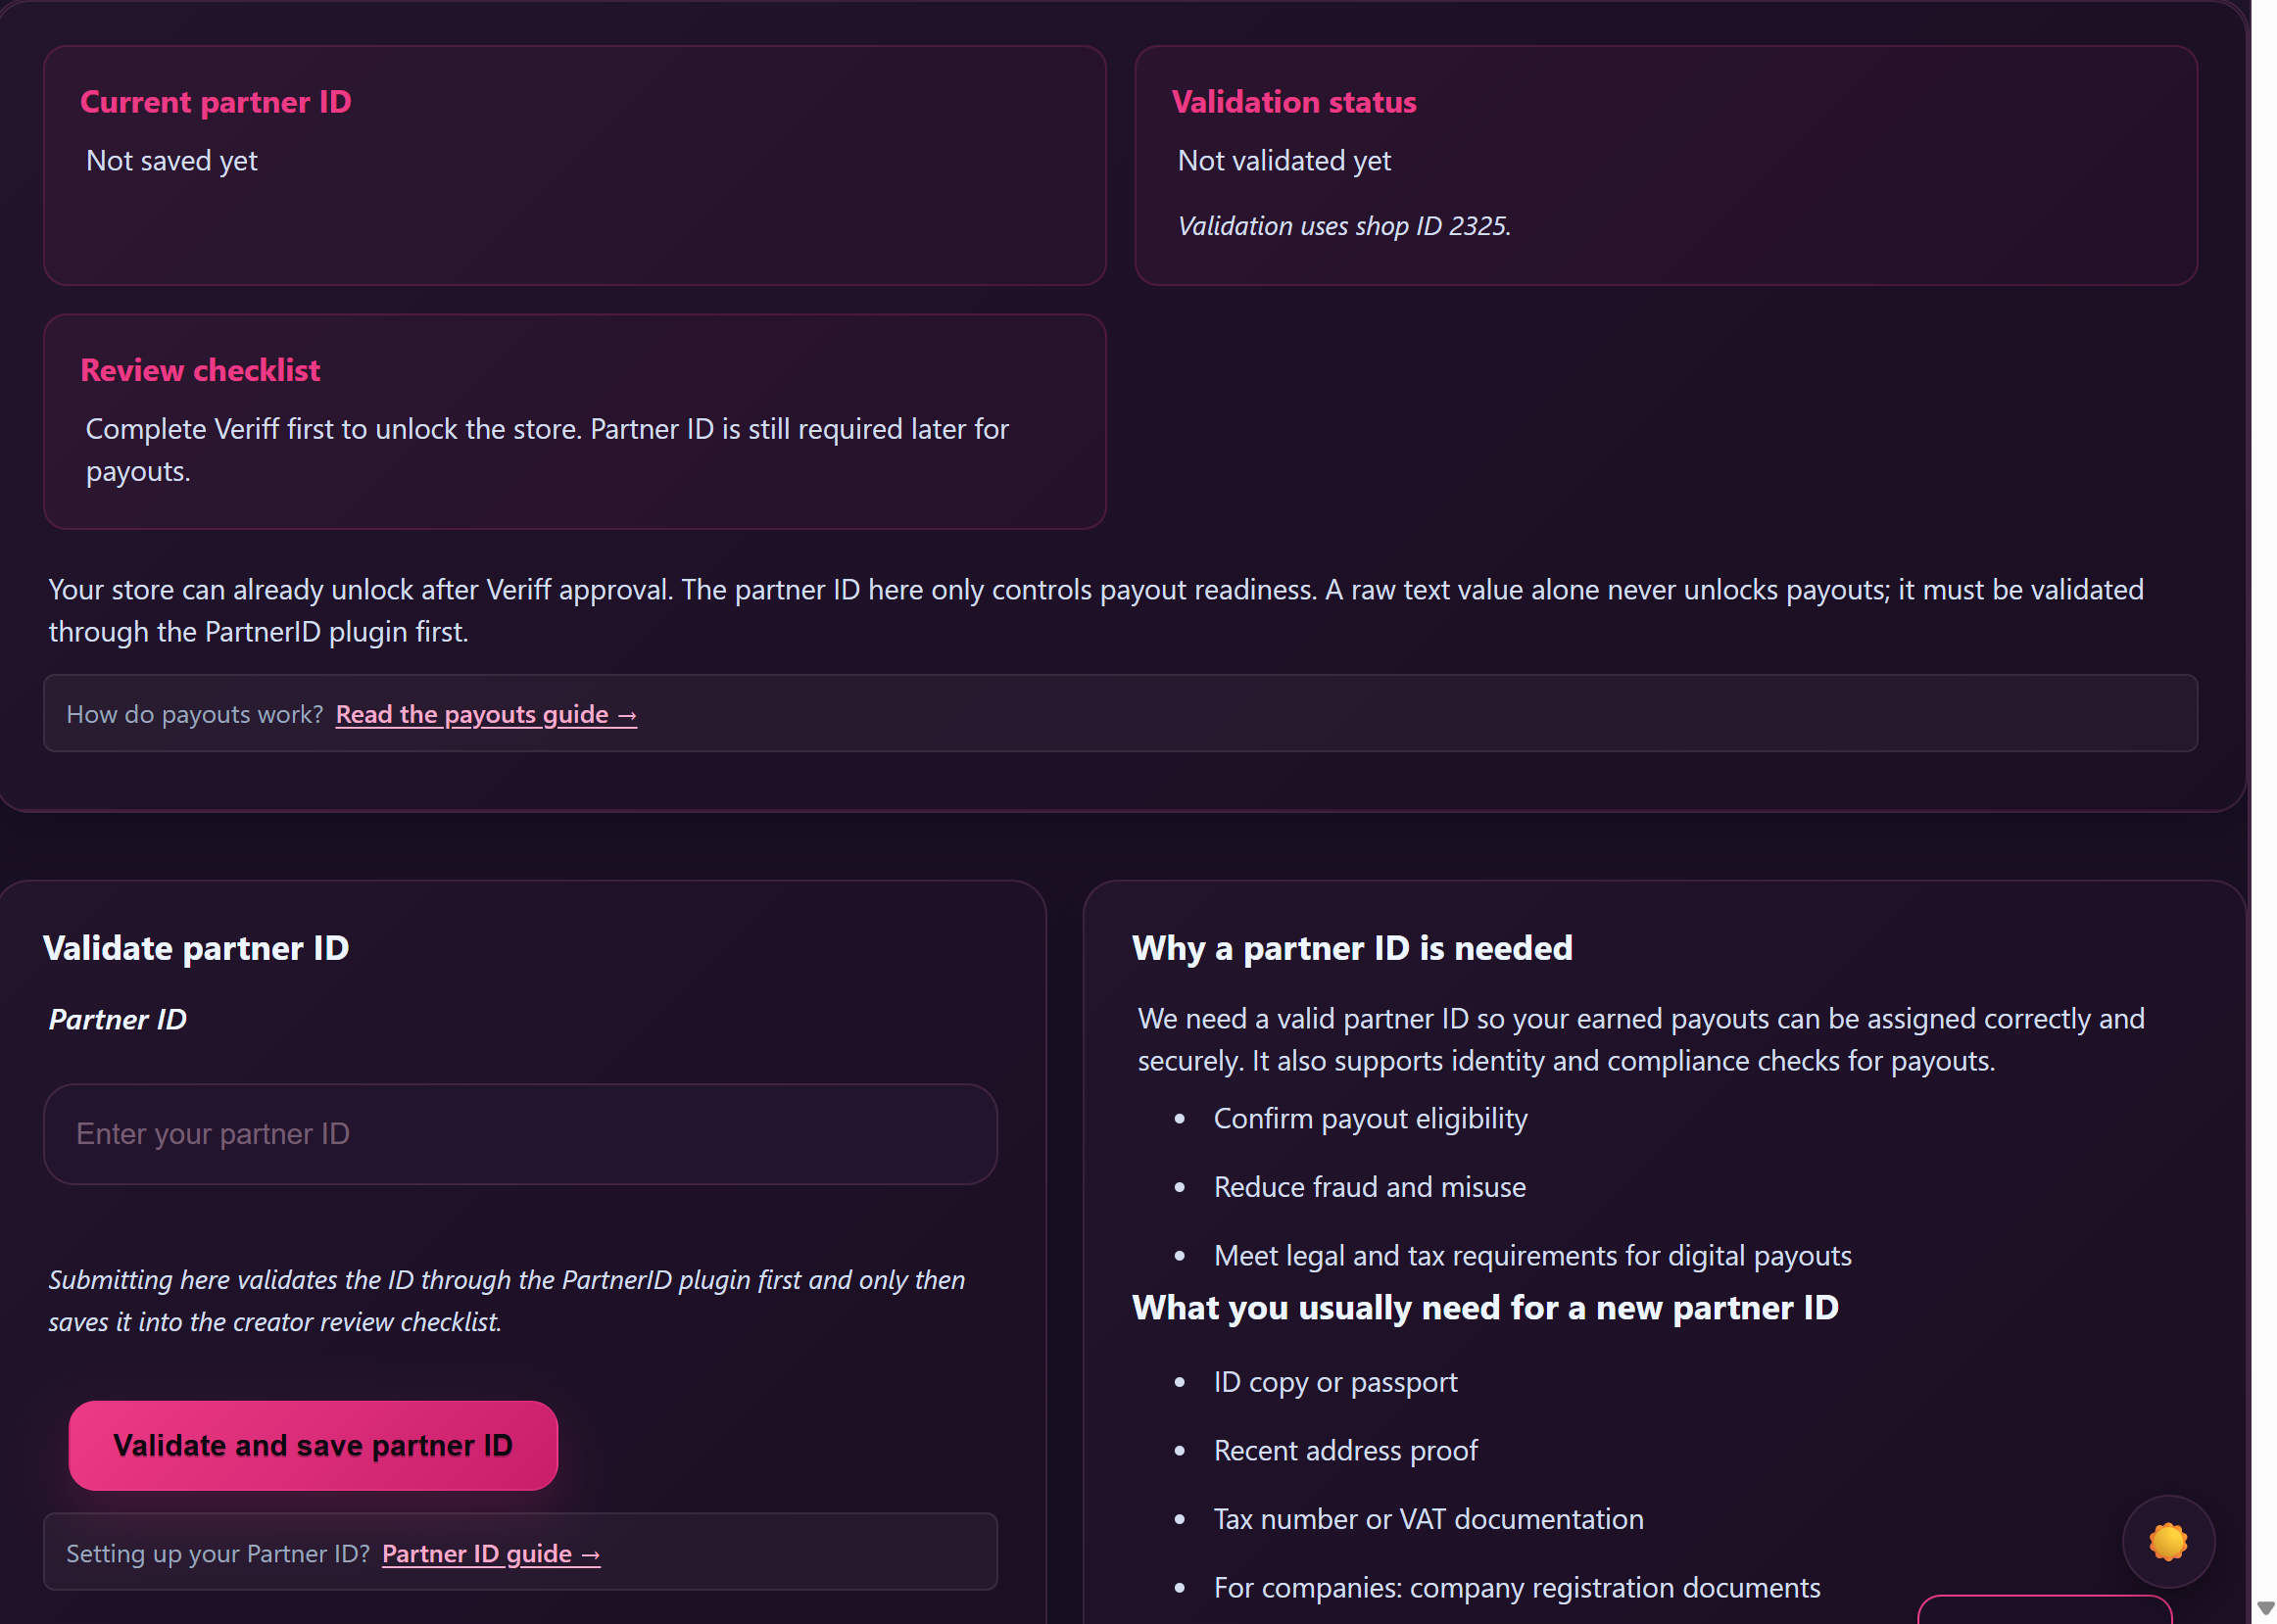
Open Store Manager → Payouts at /store-manager/payouts/. Setting up payouts is a small two-step routine: you provide an IBAN, use it to request a Partner-ID, then save that Partner-ID on the Payouts page.
5.1 — You’ll need an IBAN
Payouts run on SEPA, so you’ll need a bank account with an IBAN (the European bank-account format) in your name.
If your bank account is in a country that doesn’t issue IBANs, don’t worry — the Payouts page has a built-in step-by-step guide for opening a free online account that does, with options that work for most countries. Click Don’t have an IBAN? on the Payouts page to walk through it.
Important: the name on the bank account must match the name on the ID you used for the identity check. Banks reject SEPA transfers when those don’t match.
5.2 — Request your Partner-ID
The Payouts page has a Request Partner-ID link that takes you to our payment partner’s registration form. Fill it in — they reply with your Partner-ID, an alphanumeric code you’ll use here on Lewdden.
Paste your Partner-ID into the field on the Payouts page and save. We check it in the background. The moment your Partner-ID is confirmed, payouts are switched on. The field then locks (this is on purpose — to keep your payout details safe).
Good to know: your Partner-ID works across GuyScat, Lewdden and ScatPortal. If you also create on one of our other sites, enter this same Partner-ID there instead of requesting a new one — one Partner-ID covers all of them.
How payouts arrive
Payouts run on a monthly cycle. Anything you earn this month is paid out in the next monthly cycle: the payout is generated on the 1st and the money reaches your bank between the 4th and the 7th of the month, with a clear breakdown of where every euro came from.
You’re ready — what would you like to do first?
Most creators start with one of these. Pick whichever matches what you want to do today; the others can wait.
Sell clips
- Upload your first clip from Store Manager → Clips Manage.
- Generate a short trailer automatically from any clip with the built-in trailer tool.
- For very large files, the Clips Manage page also shows a personal FTP login (host:
ftp.lewdden.com) so you can drop multi-gigabyte videos in batches. Most creators stick with the browser uploader — it works for files up to several gigabytes.
Stream live
- Schedule and run your first show — public, paid-ticket, or one-on-one private.
- Set up cam-2-cam for private shows.
- Pair a Lovense toy so fans can trigger reactions by tipping during a show.
- Every show is recorded automatically — no extra setup.
Sell physical merchandise
- Add a physical product — used items, signed photos, prints, custom merch.
- Set up your shipping zones and rates.
- How fulfilment, returns and refunds work.
Earn from your regulars
- Subscriptions — turn on a monthly tier so fans get ongoing access.
- Feed posts — share updates to your followers; mark posts as subscriber-only to reward paying fans, and let any fan tip on any post.
- Chat sales — chat one-to-one at
/store-manager/chat/. Any message can carry a price tag with a clip, photo set or voice note attached. Use broadcasts to send one announcement to your whole fan list at once (great for new-clip drops or “going live” pings). - Custom orders — accept custom-video requests with your own pricing and turnaround.
- Tipping — enable tipping during streams and on feed posts.
Need help?
If anything in this guide didn’t match what you saw on screen — or you’d just like a hand from a real person — open a ticket from your dashboard. We answer in English and German, and the average reply time is well under a day.