Payoneer is the IBAN provider we recommend third, after Paxum and Wise. It’s a NASDAQ-listed financial platform with 190+ supported countries, so this is the right pick if Paxum and Wise both don’t operate where you live. The trade-off is slightly higher fees on cross-currency withdrawals, but for a creator who just needs a working EUR IBAN that lands SEPA payouts, Payoneer is the most-likely-to-be-available of the three.
This guide walks you through opening a Payoneer freelancer account, getting verified, requesting your EUR receiving account, and copying that IBAN into your Partner-ID registration. Plan on 20 minutes of form-filling plus 1–3 business days for Payoneer to verify your documents, and a further 1–2 business days for the EUR receiving account to be issued.
For the rest of the payout setup once your IBAN is in place, see Setting up your Partner-ID for the first time. For the bigger picture (rev share, monthly cycle, when payouts run), see How creator payouts work. To compare Payoneer against Paxum and Wise first, see IBAN setup for international creators (overview).
1. Why Payoneer
Payoneer Inc. is a publicly traded company (NASDAQ: PAYO) regulated by the FCA (UK) and other global authorities, serving more than 5 million customers worldwide. Two things make it the right pick for creators outside Paxum‘s and Wise‘s coverage:
Payoneer operates in 190+ countries and territories, compared to Wise‘s ~80 and Paxum‘s ~50.
If Paxum and Wise both turn you away at the country selector, Payoneer is the most likely to accept your application. Many African nations, Central Asian countries, and smaller island states that Wise doesn’t serve are covered by Payoneer.
Account creation is free. Receiving EUR via SEPA is free to 1% depending on the sender. There are no monthly maintenance fees.
An annual account fee can apply only if your inflow over 12 months is unusually low (well below typical creator earnings). For active creators receiving regular monthly payouts, the account stays free.
The trade-off is that Payoneer‘s cross-currency withdrawal fees are higher than Wise‘s: up to about 2% above the mid-market rate when you move EUR into your local-currency bank. If Wise is available in your country, it’s the cheaper option for that step. Payoneer‘s edge is country coverage, not pricing — see IBAN setup with Wise for the cheapest-conversion option.
2. What you’ll need before you start
Get these together before you click sign-up — Payoneer will ask for them during the application:
- Government-issued photo ID — passport, national ID card, or driver’s license. Both sides if it’s a card.
- Proof of address — utility bill, bank statement, or government letter dated within the last 3 months, showing your name and current address.
- Phone number — for SMS verification.
- A description of your work — Payoneer‘s compliance questionnaire asks about the source of your incoming payments. Plan to describe yourself as a freelance content creator earning platform payouts.
- Your full legal name — must match your ID exactly, your Partner-ID registration exactly, and your Lewdden account.
Name consistency matters. If your ID says “Anastasia Maria Sokolova,” that’s the name you put on your Payoneer account, your Partner-ID, and your Lewdden account too — not a stage name, not an abbreviated version.
3. Open a free Payoneer freelancer account
- Go to payoneer.com and click Register (or Sign up).
- Choose Personal account, then select Freelancer as the account type.
- Enter your email address and create a strong password.
- Fill in your personal details: full legal name, date of birth, residential address, country of residence, phone number.
- Submit the form. You’ll receive a confirmation email — click the link to confirm your address.
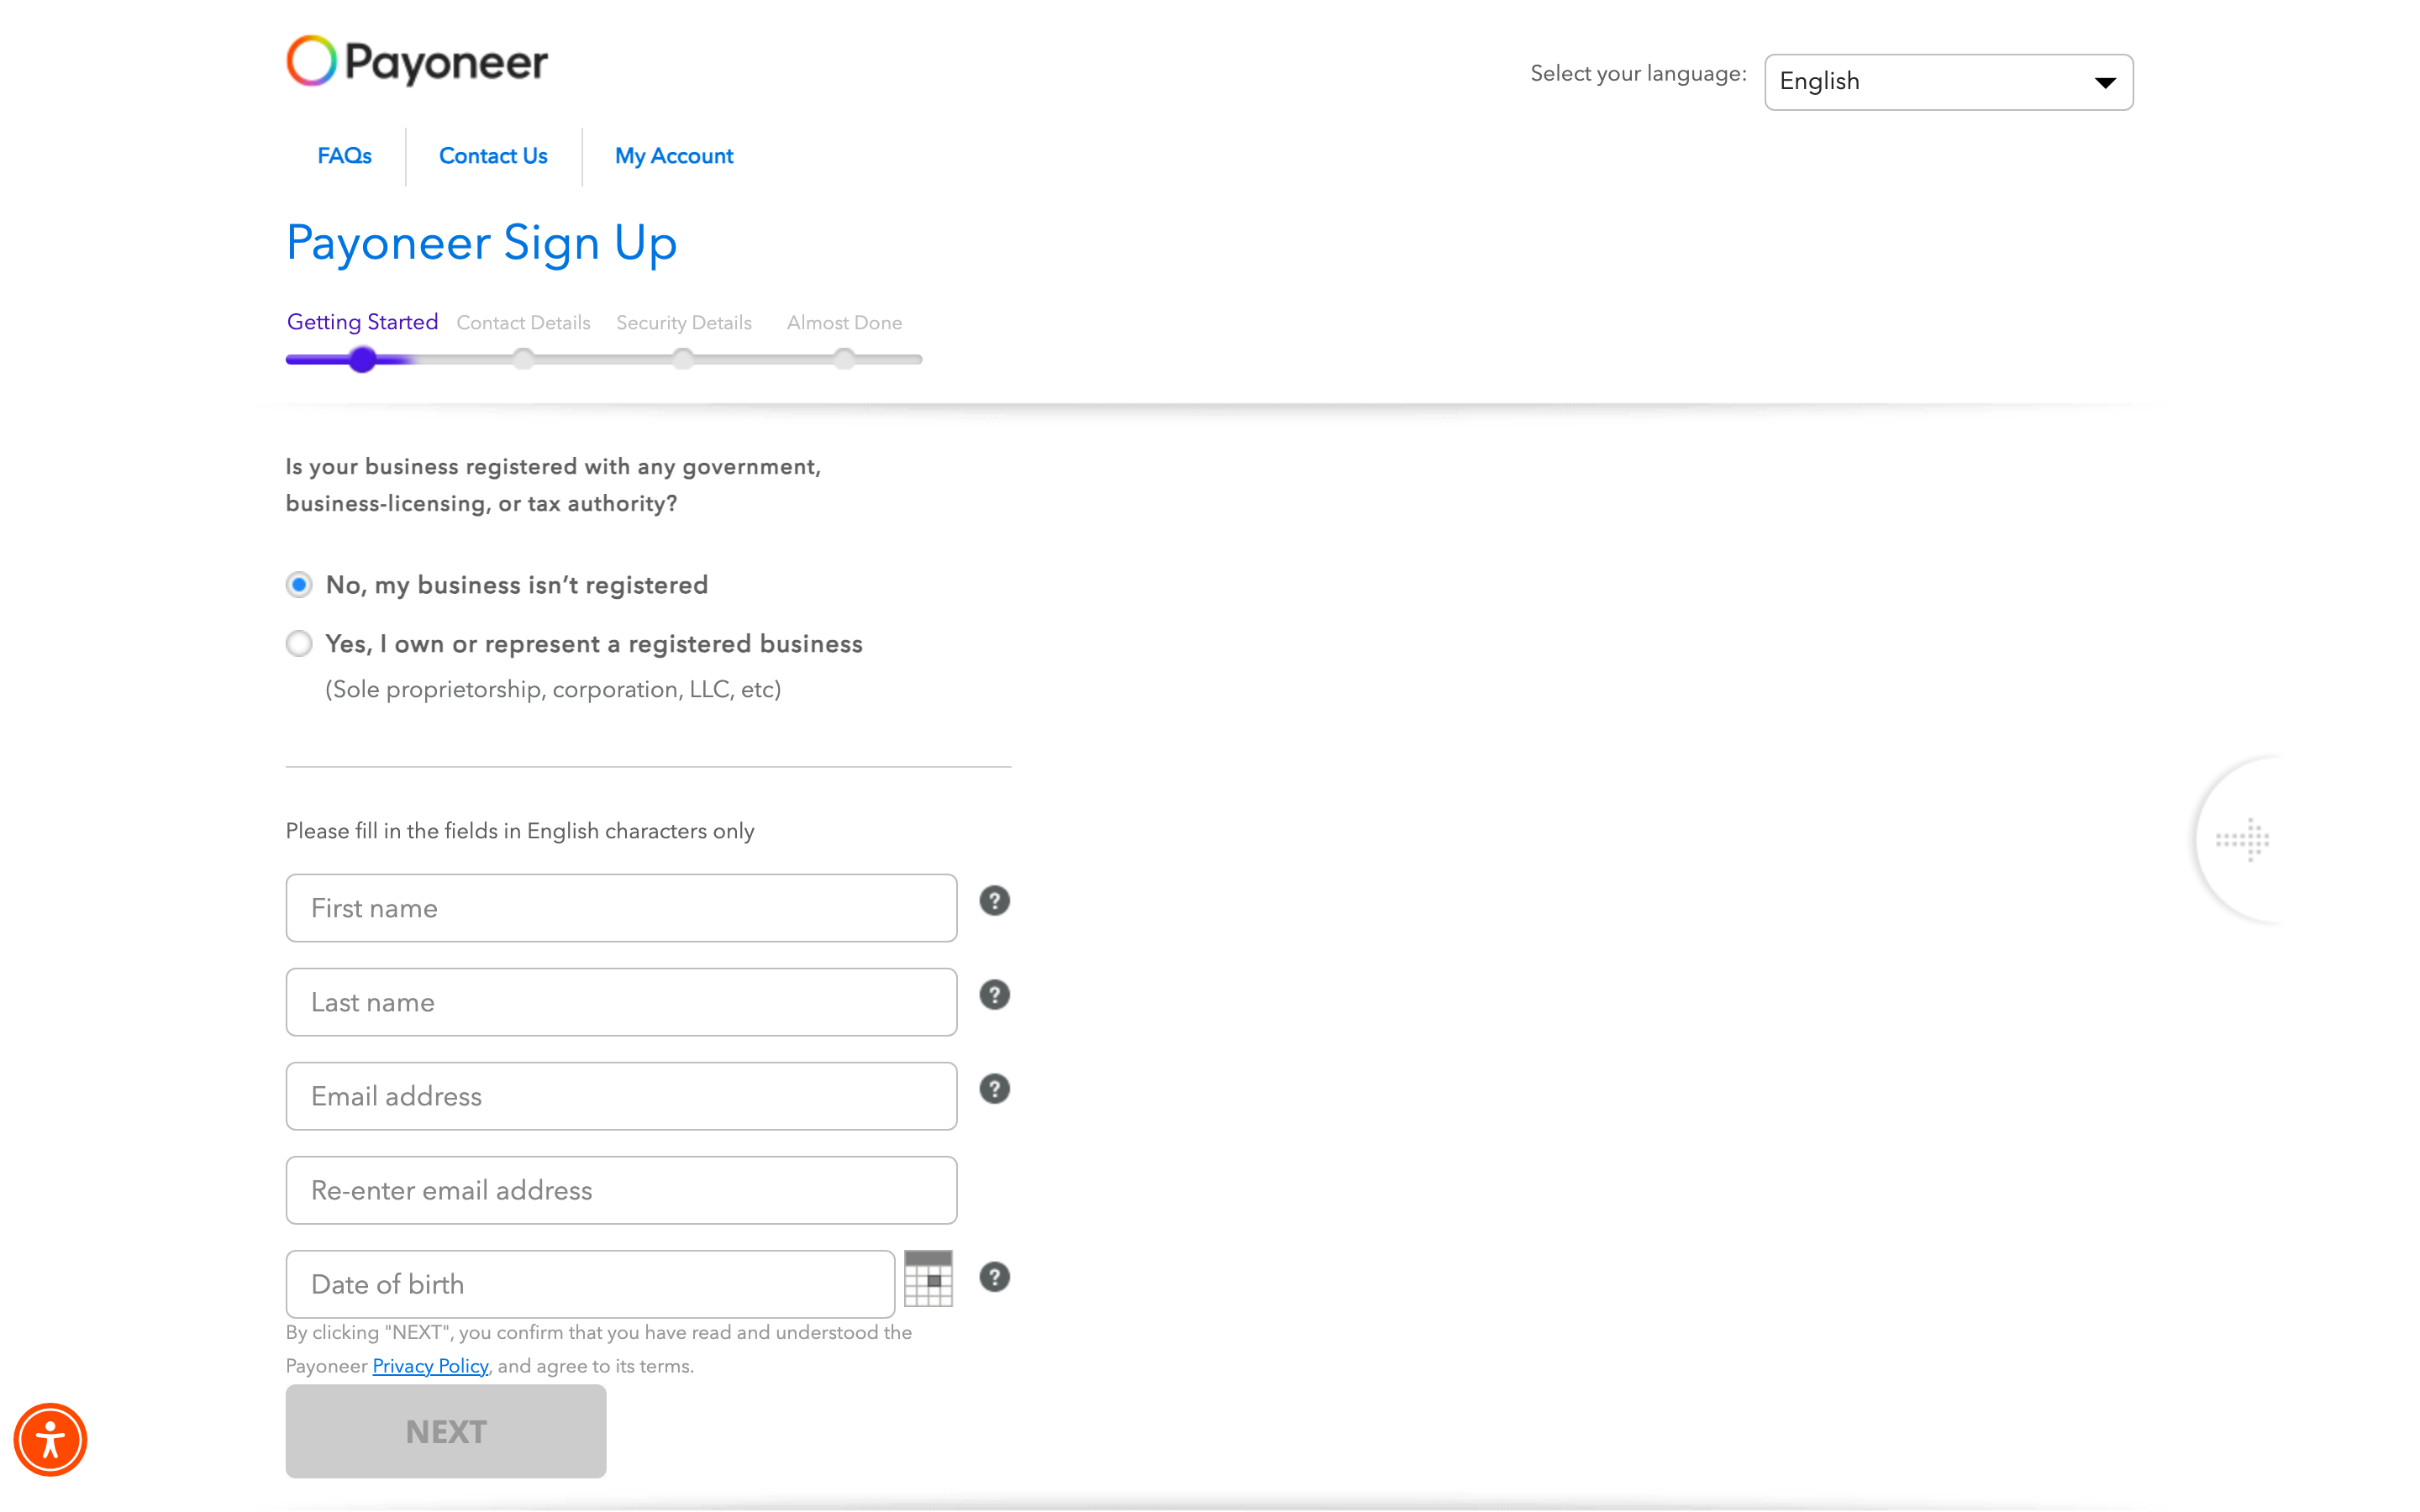
The application takes around 5 minutes. Identity verification is the next step and is required before you can request a receiving account.
4. Verify your identity
Sign in to your Payoneer dashboard and follow the verification prompt:
- Upload your photo ID — both sides if it’s a card. Make sure the image is sharp and all four corners are visible.
- Upload your proof of address — utility bill, bank statement, or government letter dated within the last 3 months.
- Submit a selfie if Payoneer prompts for one (some accounts get this step, some don’t).
Verification typically takes 1–3 business days. Payoneer emails you when your account is approved.
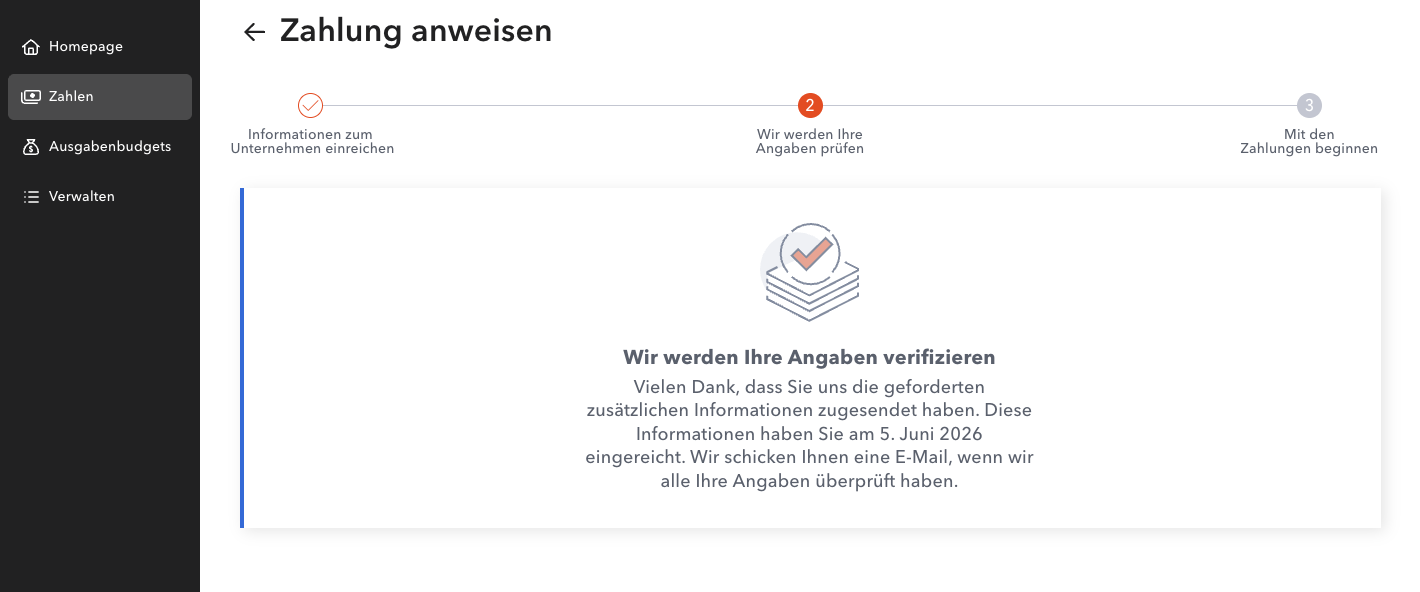
If your documents are rejected, the email tells you why — usually it’s a blurry photo, an outdated proof of address, or a mismatch between the name on the ID and the name you registered with. Re-upload through the same dashboard panel; there’s no penalty for retrying.
5. Request a EUR receiving account
Once verified, request the EUR receiving account:
- From your Payoneer dashboard, go to Get Paid → Receiving Accounts (sometimes labelled Receive).
- Click Request and select EUR (Euro).
- Confirm the account holder name (must match your verified Payoneer name).
- Submit.
The EUR receiving account is free — no setup fee, no monthly fee, no minimum balance. Once approved (typically 1–2 business days), Payoneer assigns you a real EUR IBAN issued through one of their European banking partners.
[Screenshot 3: Payoneer “Get Paid” → Receiving Accounts panel with EUR option visible]
6. Complete the receiving-account questionnaire
Payoneer‘s compliance team needs to understand the nature of your incoming payments. This questionnaire is a standard anti-money-laundering check, not a qualification hurdle:
- Type of business — freelance content creator (or similar wording that matches your reality).
- Source of income — platform payouts / content platform earnings.
- Expected monthly volume — your honest estimate of expected monthly inflows.
Answer accurately. Payoneer just needs to satisfy its regulatory obligations — there’s no “wrong” answer that disqualifies a creator.
Once your receiving account is approved, your dashboard shows:
- IBAN — typically a German IBAN starting with DE or a Lithuanian IBAN starting with LT (the country depends on which Payoneer banking partner issues your account).
- BIC / SWIFT — Payoneer‘s banking partner BIC.
- Bank name — Payoneer‘s banking partner.
- Bank country — Germany or Lithuania (matching the IBAN).
- Account holder — your full legal name.
Copy or write down all four — you need them for the Partner-ID step next.
7. Use your Payoneer IBAN on the Partner-ID registration
Now go back to Lewdden and finish the Partner-ID side:
- Sign in at
/models-login/. - Open
/store-manager/payouts/. - Scroll to the Need a partner ID first? card.
- In the partner registration form (embedded on the page or in a new tab), enter:
- IBAN — your Payoneer EUR IBAN (DE… or LT…)
- BIC / SWIFT — your Payoneer BIC (from the dashboard)
- Bank country — Germany or Lithuania (whichever matches your IBAN, not your home country)
- Account holder name — your full legal name, exactly as it appears on Payoneer
- Upload the Partner-ID side documents (ID, address proof, tax info, bank-account proof — the bank-account proof is typically a screenshot of your Payoneer dashboard showing the IBAN and your name).
- Submit. The partner system reviews — typically within a few business days — and emails you a Partner-ID.
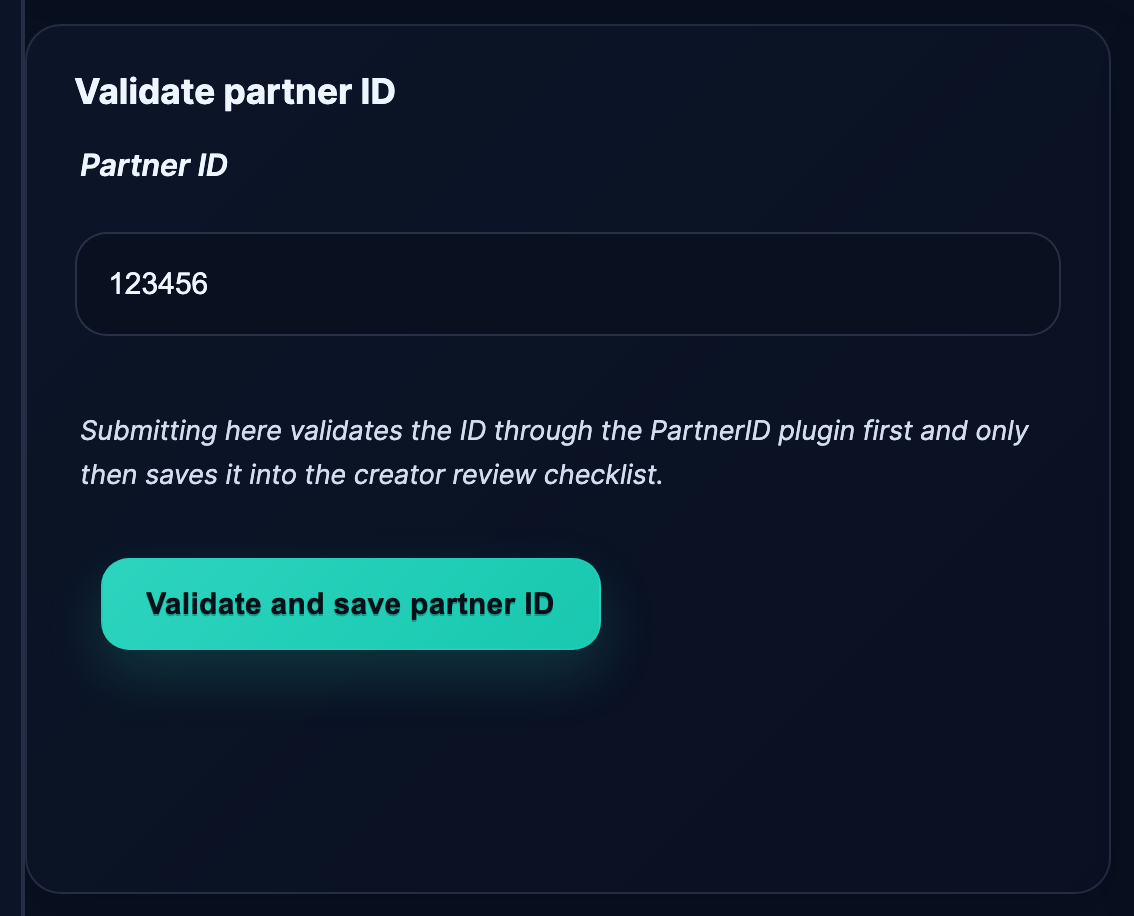
- Come back to
/store-manager/payouts/, paste the Partner-ID into the Validate partner ID form, click Validate and save partner ID.
Once validation passes, your monthly payouts run on the next 1st-of-the-month cycle. See Setting up your Partner-ID for the first time for the click-by-click on this step.
8. Payoneer fees at a glance
The fees that matter for Lewdden creators receiving monthly EUR payouts:
| Action | Fee |
|---|---|
| Opening a freelancer account | Free |
| EUR receiving account (issuance + maintenance) | Free |
| Receiving EUR via SEPA from a third party (your monthly payout) | Free to ~1% |
| Withdrawing EUR to a EUR bank account (SEPA, ≥ €400) | €1.50 flat |
| Withdrawing EUR to a EUR bank account (under €400) | €4.00 flat |
| Withdrawing EUR to a non-EUR bank (currency conversion) | Up to ~2% above the mid-market rate |
| Internal currency conversion within Payoneer (e.g. EUR → USD balance) | ~0.5% above the mid-market rate |
| Annual account fee | Charged only if your 12-month inflow is unusually low — most active creators are exempt |
The receive side is usually free, so every monthly Lewdden payout lands in your Payoneer EUR balance with little to no cost. The cost only kicks in when you withdraw or convert into your local currency. The smaller the withdrawal, the worse the per-transfer rate — which is why batching matters.
Example — you receive a €100 payout. You withdraw it to your EUR-zone bank in a single transfer of €100 → fee is the under-€400 flat fee of €4 (about 4%). The same €100 sat in your Payoneer balance for two months and withdrawn together with a second €100 payout = €1.50 flat (0.75%) on €200. Same money, half the cost.
To minimise fees, let your EUR balance accumulate and withdraw in larger, less frequent batches — or use the optional Payoneer prepaid card (see below) to spend the EUR balance directly.
9. Optional — order a Payoneer prepaid Mastercard
Payoneer offers a prepaid Mastercard you can use to spend your Payoneer balance directly — useful if you’d rather access your earnings without converting them through a local bank first.
The card is available in many (but not all) Payoneer countries. There’s an annual card fee that varies by country, no per-transaction POS fee in the card’s own currency, and a small FX markup for transactions in other currencies. Card-issue fees and ATM-withdrawal fees vary — check payoneer.com/about/pricing/ for the current schedule before ordering.
The card is entirely optional. Your EUR IBAN works for the Partner-ID payouts whether or not you order one.
Common questions
Q: Is Payoneer a real bank?
Payoneer is not a traditional bank — it’s a global financial-services company. It issues real EUR IBANs through licensed European banking partners (typically German or Lithuanian banks), and those IBANs accept SEPA transfers from any EU bank exactly the same way a regular bank account does.
Q: Why is my IBAN German or Lithuanian, when I don’t live there?
Payoneer issues European IBANs through its banking partners in Germany and Lithuania. Your account country is the country where the IBAN was issued — not your home country. Set the bank country on your Partner-ID registration to Germany or Lithuania (whichever matches your IBAN), not your country of residence.
Q: How long does the whole process take?
Sign-up is 5 minutes. Identity verification is 1–3 business days. The EUR receiving account is approved 1–2 business days after request. Total: typically under a week from “I’ll do this today” to “my IBAN is ready to copy into the Partner-ID registration.”
Q: My country isn’t on the Payoneer signup country list.
Payoneer covers 190+ countries — the broadest of the three providers we recommend. If your country isn’t there, the few sanctioned-or-restricted jurisdictions are the usual reason. Open a support ticket — there are edge-case alternatives we can suggest. See IBAN setup for international creators (overview).
Q: Can I use a Payoneer Business account instead of Freelancer?
Yes — Payoneer also offers Business accounts for registered companies and agencies. The flow is similar but you also upload company-registration documents. Use the business account if you operate as a registered freelancer or company; ask your accountant.
Q: Do I need to maintain a balance?
No. There’s no minimum balance requirement. Just don’t leave a tiny inflow stale for a year — the dormancy/inactivity-related fees are designed to discourage abandoned accounts, but typical creator earnings keep the account well clear of those thresholds.
Q: What’s the receiving account questionnaire? Will it disqualify me?
It’s a one-time compliance form when you request a receiving account. Payoneer asks about your business type and expected payment volume to satisfy regulatory obligations. There’s no “right” or “wrong” answer that disqualifies a creator — answer truthfully.
Q: Why is my BIC different from what someone else has?
Payoneer‘s banking partner can change over time, so the BIC and bank country shown in your dashboard are the source of truth — not anything cached in this article. Always copy what your Payoneer dashboard shows on the day you register your Partner-ID.
Q: I already have a Payoneer account from a different platform — do I need a new one?
No. Use the same Payoneer account and the same EUR receiving account. Payoneer doesn’t require a separate account per income source.
Q: The name on my Payoneer account differs from my Lewdden name — is that a problem?
Yes. Your name must be identical across Lewdden, your Partner-ID registration, and your Payoneer account. If the names don’t line up, your monthly payout can be bounced back at the bank when the SEPA transfer arrives, because the beneficiary name on the wire won’t match the Payoneer account holder. Use your full legal name everywhere — fix the Lewdden side or open a support ticket if you can’t match them.
Q: My Payoneer verification keeps getting rejected — what do I do?
Most rejections are: blurry ID photo, ID/address-proof mismatch, address proof older than 3 months, or the same document used for both ID and address. Fix the specific issue named in the rejection email and re-upload. If you’re stuck, Payoneer‘s support is reachable from your dashboard — that’s between you and Payoneer, not Lewdden.